
Technique
How to Analyze MMA Training Video: A 7-Pass Review
Review MMA sparring and drilling footage in seven focused passes, find the first repeatable error, and turn it into one useful next-session cue.
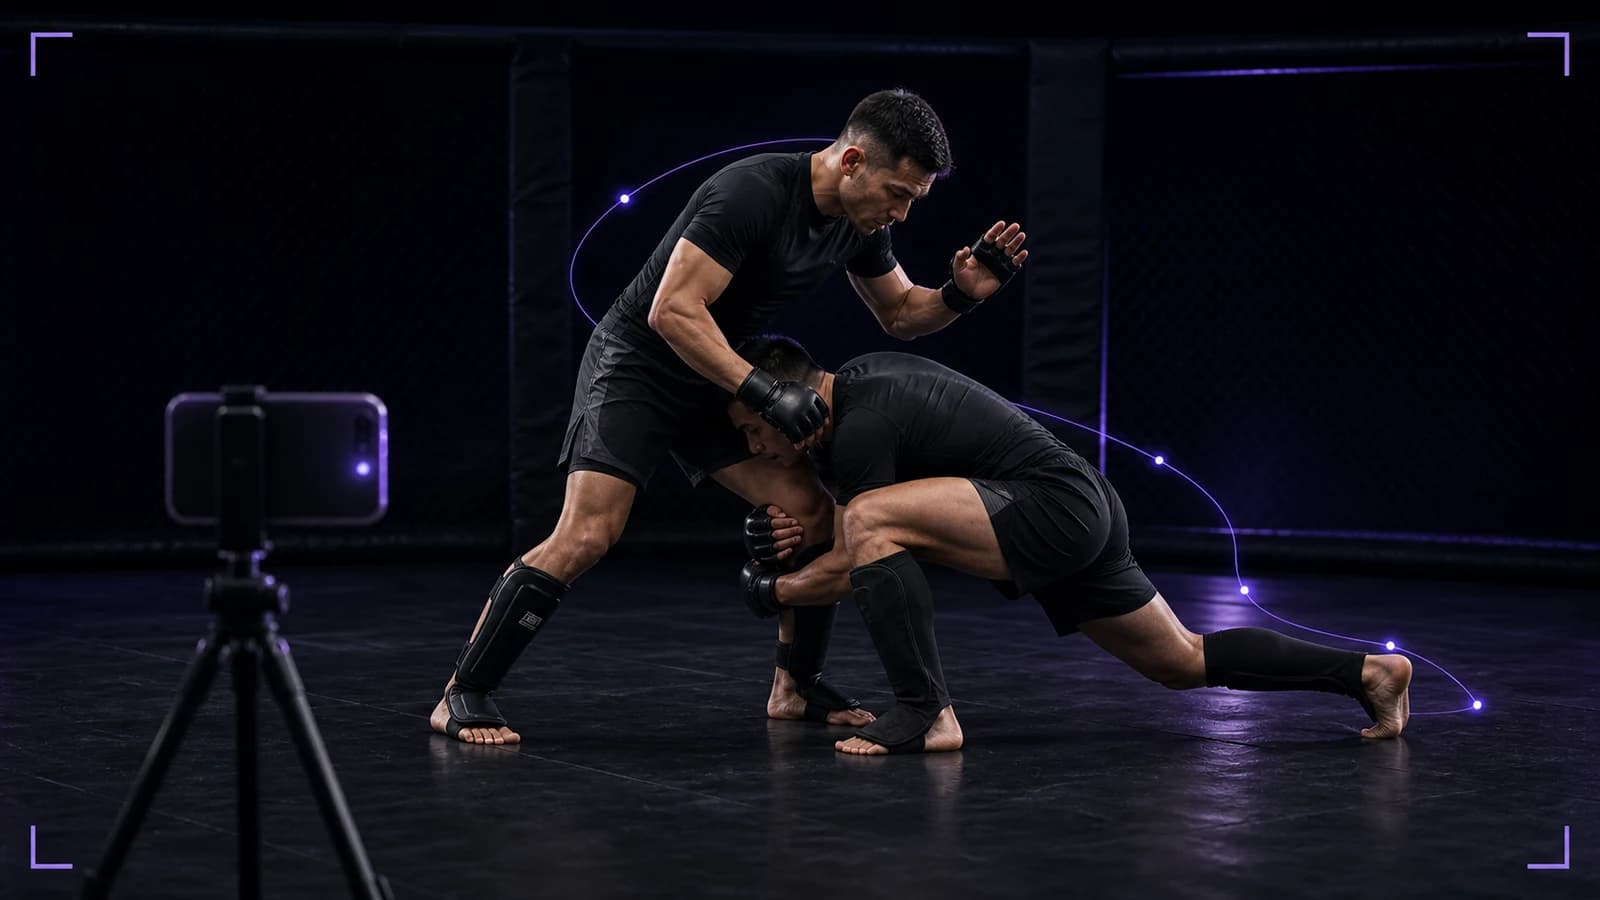
Answer first: Review an MMA training video in separate passes. Watch the full exchange at normal speed, mark the first moment that changes the outcome, then inspect distance, stance, transitions, defence, and recovery one at a time. Finish by choosing one correction that you can test in a comparable drill. Do not judge your whole performance from one freeze-frame or one successful finish.
What a useful review should produce
A useful review gives you a small training decision, not a long list of faults. By the end, you should be able to write one sentence such as: “I started my level change outside punching range,” “I stayed square after the cross,” or “I accepted the underhook before I tried to turn off the fence.” That sentence should tell you what to recreate in your next session.
Video cannot show everything. It may hide the pressure your partner applied, the grip you felt, the instruction your coach gave, or pain that changed your movement. Treat the clip as evidence for a coaching conversation. Do not use it to diagnose an injury, ignore a tap, or overrule your gym’s safety rules.
Set up the camera before you train
Place your phone outside the work area where neither athlete can fall onto it. For open-mat striking and takedown entries, use a diagonal view that keeps both athletes from head to foot in frame. For cage work, place the camera far enough away to show the fence, both stances, and the escape lane. Ask everyone who appears or speaks in the recording for permission before you film or upload the clip.
Keep the setup repeatable. Use the same angle, drill, partner role, and approximate intensity when you want to compare attempts. If you change all four, you cannot tell whether you improved your decision or simply recorded an easier repetition.
The seven-pass MMA video review
1. Watch the full exchange at normal speed
Do not pause during the first pass. Ask one question: where did the exchange begin to favour one athlete? You may notice a range change, a stance change, a lost frame, a failed exit, or a rushed recovery. Mark the time, but do not explain it yet.
2. Rewind to the first cause
Athletes often review the final event—the takedown, clean strike, submission attempt, or fence pin. Rewind two or three decisions. If your partner finished a double leg, the first useful cause may be that you stepped square after punching. If you missed a shot, you may have entered before you made your partner react. Find the earliest observable decision that you can actually train.
3. Check distance and setup
Watch whether you earned the range for the action. Did you touch the guard, draw a parry, move your partner toward the fence, or establish a tie before you entered? Did you reach from outside contact range? For a striking-to-takedown sequence, compare your threat with the response it created. The shot matters less than the reaction that made the lane available.
If you want a drill for this specific link, use the reaction-based block in MMA striking-to-takedown transitions.
4. Check your base and posture
Keep the view moving; do not build a verdict from one frame. Watch how you place your feet before, during, and after the action. Note whether you cross your feet, narrow your stance, reach past your base, fold at the waist, or leave yourself unable to stop. For takedown entries, compare the level change, penetration step, first connection, and rear-leg follow-through. The takedown-entry guide gives you a focused sequence for that review.
5. Check the transition, not just each discipline
MMA problems often appear between skills. Watch the moment when you move from punches to a level change, from a failed shot to a clinch, from the fence to open space, or from a takedown to control. Ask whether you protected yourself during the change. A clean punch does not help if you finish square under a counter shot. A takedown does not solve the exchange if you give your partner a guillotine or an immediate stand-up.
6. Check defence and exit
Watch what you do after your first plan meets resistance. Do you frame, pummel, widen your base, turn the corner, reshoot, or leave safely? Note whether you repeat the same failed action with more force. During sparring footage, also review whether you respected the agreed intensity and reset. The beginner sparring strategy explains how to give each round one narrow job.
7. Choose one cue and one retest
Write the correction as an action you control. “Keep better balance” is vague. “Recover my stance before I change level” tells you what to do. Build a short retest with the same starting range and one predictable partner response. Record three to five attempts, then compare the first and last clips at normal speed before you use slow motion.
Use slow motion without fooling yourself
Slow motion helps you inspect sequence, but it can make every decision look late. Watch normal speed first and last. Use slow motion only to answer a narrow question: when did you start the level change, where did you place the lead foot, when did you lose the underhook, or how did you exit after the combination?
Avoid invented precision. A camera angle can help you see that you leaned, reached, or lost position. It cannot prove exact force, fatigue, intent, pain, or injury risk. If a product gives you a score, use the score to locate a moment worth reviewing; do not treat the number as a medical result or an official judgment.
A reusable review note
Copy this structure into your training log:
- Clip: drill, round, partner role, and camera angle.
- First change: the earliest moment that altered the exchange.
- Evidence: what you can actually see at normal speed.
- Cue: one action you will take next time.
- Retest: the same starting position and one controlled response.
For example: “Round 2, jab-to-double drill, diagonal camera. I changed level before the jab moved the guard. Next cue: touch the guard, recover my stance, then enter. Retest: five attempts against a high-cover response.”
Safety and competition context
Ask a qualified coach to set contact, resistance, submissions, knees, wall work, and reset rules before you record live practice. Stop when either athlete feels pain, becomes confused, or cannot protect themselves. Check the rules for your own event and market; amateur requirements can differ from professional Unified Rules. The IMMAF rules and policies hub provides official international amateur documents, while your event organiser and national federation decide what applies to your bout.
Bottom line
Review the decision chain, not the highlight. Watch the exchange at normal speed, find the first repeatable cause, inspect one layer at a time, and leave with one cue you can retest. That process turns footage into a training action without pretending that a camera can replace coaching, consent, or judgment.