Takedowns
Body Lock Takedown for MMA: Entries, Trips and Mat Returns
Learn front and rear body lock takedowns for MMA, with open-space and cage entries, inside trips, lifts, mat returns, defense and partner drills.
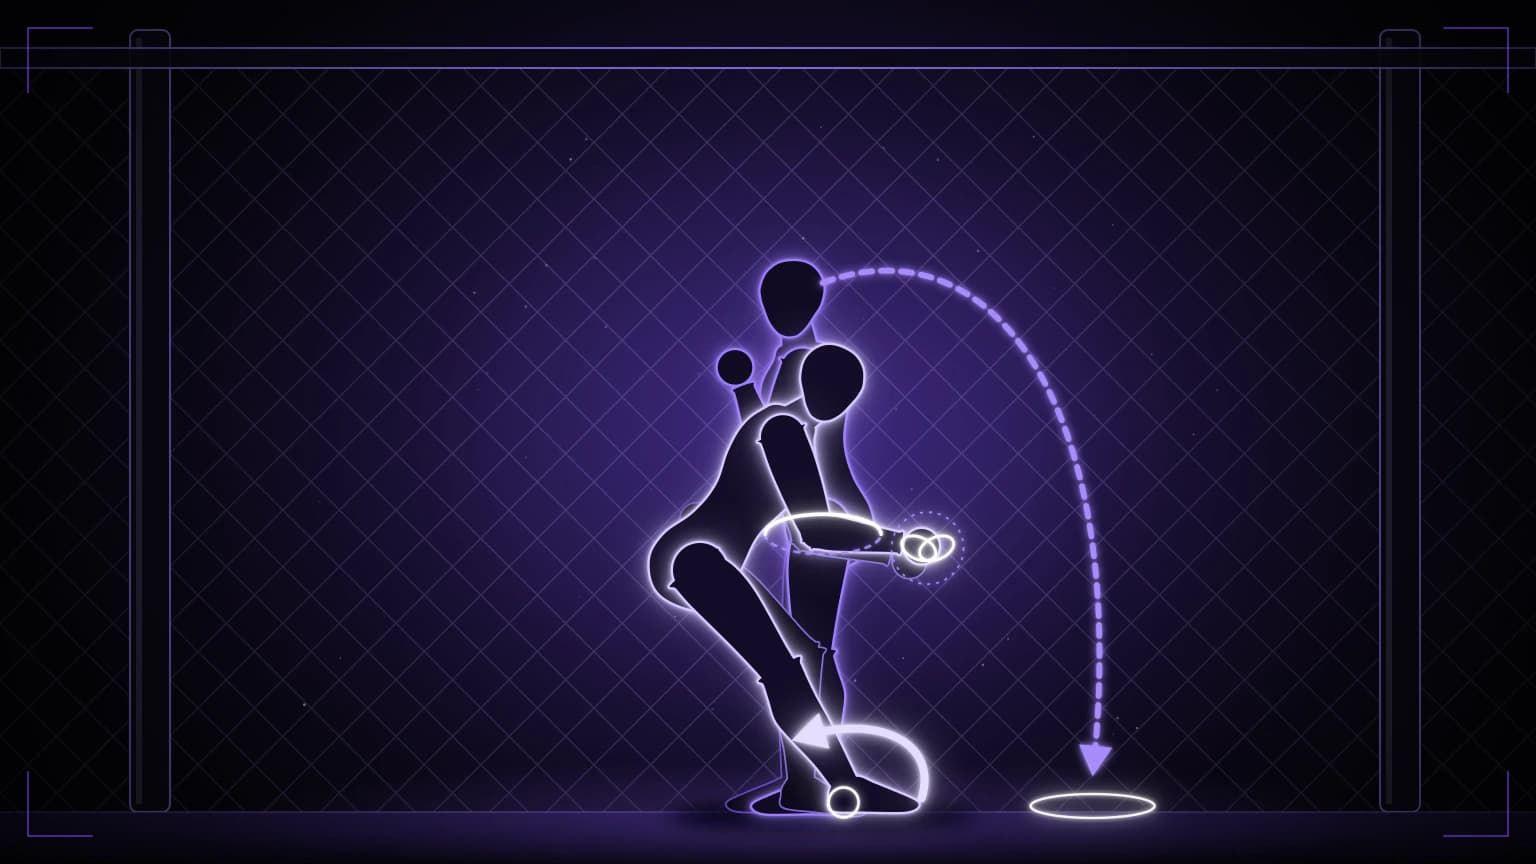
A body lock takedown starts when you connect your arms around your opponent's torso, control their hips, and finish with a trip, turn, lift, or mat return. Keep your head tight, your hips close, and your feet active so the lock controls the opponent's centre before you try to finish.
MMA gives you several routes to the lock: enter from punches, pummel from the clinch, catch the opponent against the cage, or move behind them during a scramble. Learn the front and rear positions separately, then connect them to your striking to takedown transitions.
Understand the front body lock
The front body lock wraps the torso while you face your opponent. Your exact hand connection may sit around the lower ribs, waist, or hips according to the position and your coach's system.
Keep your forehead or temple connected to the opponent's jawline or shoulder area. Use your head to guide posture and feel movement. Keep your elbows close so the opponent has less space to pummel an underhook or peel the lock.
Bring your hips near theirs. A lock that reaches from far away gives the opponent room to widen their base, frame your face, or drop their weight. Step close enough that your legs can move the position.
Your lock should connect your upper and lower body. Squeezing harder with your arms cannot replace foot position. Move the opponent first, feel which foot grows light, and attack that base.
Build the rear body lock
The rear body lock places you behind the opponent with your chest connected to their back and your arms around the waist or hips. Keep your head beside theirs rather than directly behind the skull, where a sudden backward movement can collide with your face.
Place your hips close and bend your knees. If your hips drift away, the opponent can turn, peel your hands, or lower their base. Follow their steps without crossing your own feet.
Control the near hip before you lift or trip. A loose lock around the upper waist may slide as the opponent rotates. Your coach can show the legal grip and safest hand position for your ruleset.
Stay aware of the cage. The opponent may use it to stay upright or turn. Use the panel as a boundary for your angle while keeping your fingers outside the fence.
Enter the body lock in open space
Enter behind a punch
Use a jab or cross to raise the guard and close distance. Recover your striking hand as you step into the clinch, then connect around the body once your head and feet arrive. The entry should protect you from counters while you change ranges.
Avoid diving with both arms extended. That shape exposes your head and lets the opponent frame or sprawl. Connect one side first, win an underhook, and close the second arm when your posture reaches the hips.
Enter from an underhook
Pummel an underhook, keep your head on the same side, and walk your feet toward the opponent's hips. Your free arm can secure the far side once you turn their shoulders or pin the overhook.
The underhook gives you a route past the elbow. If the opponent clamps a strong whizzer, adjust your head and feet before you close the lock. Forcing the hands together while your shoulder collapses can leave you bent and vulnerable.
Enter after a defended shot
When the opponent blocks your leg attack but stays upright, climb from the legs to the waist. The double-leg takedown guide shows the lower entry. Use the body lock as a second position when their hips remain within reach and your head stays safe.
Win the body lock against the cage
The cage limits retreat and gives you a surface for pressure. Drive the opponent toward the panel with your head, shoulder, and feet working together. Keep your stance wide enough to resist a turn while you preserve an inside step.
Pummel for underhooks. A double underhook position can connect your lock and lift the opponent's posture. A single underhook plus head position can still turn them and expose a hip.
Keep your fingers out of the fence. The current ABC Unified Rules of MMA allow you to place your hand on the cage and push, while they treat hooking fingers or toes through the fence to control position as a foul.
Change the direction before you finish. Pressure into the cage can make the opponent push back. Use that response to turn, step behind, or attack an inside trip.
Finish with trips and turns
Use the inside trip
Step one foot inside the opponent's stance and connect it to the leg you want to remove. Keep your chest and lock tight while you steer their upper body over the trapped or lifted foot.
The finish comes from upper-body direction and lower-body timing. Kicking the leg alone gives the opponent room to step away. Move their weight first, then take the foot that can no longer support them.
Use an outside trip
Step to the outside of the opponent's foot and block or reap the leg in the direction your coach teaches. Turn the torso over that blocked base while you keep your own knee and ankle aligned.
Use a cooperative partner until both athletes know the landing. Trips can twist knees when the upper and lower body move in conflicting directions.
Use a knee tap from the lock
Keep one arm connected around the body while the other hand reaches to the knee your turn has made light. Guide the knee as your chest and head move the opponent over it. Return the hand to control as they descend.
Turn the corner
Pull one hip toward you while you step around the other side. The opponent's shoulders and pelvis should rotate together. If your arms pull while your feet stay still, you may lose the lock.
Lift and return to the mat safely
A lift needs close hips, bent knees, and a stable grip. Drop your level with your legs, keep your spine organized, and stand through the floor while the opponent stays connected to your torso.
Choose a safe return. Keep control as you guide the opponent toward the mat, avoid driving the head or neck down, and follow the rule your gym uses for lifts in sparring. Many sessions remove live mat returns entirely.
The ABC Unified Rules ban spiking an opponent onto the head or neck. They explain that a throw with an arc can stay legal, while a pile-driver position that places the feet up and drives the head straight down creates the foul. Use that distinction as a competition boundary and let your coach set a stricter training standard.
Against the cage, lift only when the opponent's feet and the landing area give you a clear route. A trip often requires less risk and keeps your position connected.
Return a standing opponent from the rear lock
When your opponent stands from the mat while you hold the rear body lock, follow their hips and keep your head safe. Block a foot, sit them toward an open side, or lift only as high as your training rules permit.
Avoid arching backward with the opponent's weight above you. Step to an angle and guide the return beside your base. Maintain enough control to keep their head away from the mat.
After the return, settle your own knees and hips before you chase a new grip. A rushed follow can put your weight over your hands and allow the opponent to scramble free.
Defend the body lock
Win inside hand position
Pummel an underhook, frame the collarbone, or control the attacker's wrists. Create enough space to turn your torso toward them.
Lower your hips
Widen your stance and drop your centre when you feel the attacker connect. Keep your feet active so you can follow the trip rather than planting in one place.
Turn toward the lock
From a rear lock, protect your hands and work to bring one shoulder toward the attacker. Clear the near elbow, step your hips away, and face them once the angle opens.
Use the cage without grabbing it
Place your palm on the panel, widen your base, and walk your back upward if the position allows. Keep your fingers flat. Fight for an underhook and turn off the panel.
Recognize the trip
Feel which of your feet carries the weight. When the attacker steps inside, move or free that foot before they connect the upper-body turn. Looking down at the leg can expose your posture, so learn the cue by feel during slow drills.
The MMA sprawl guide helps when the attacker changes from the body lock to a lower leg attack.
Fix the common mistakes
Your hips stay too far away
Step closer before you squeeze. Head position and an underhook can create the space for your hips to connect safely.
You try to finish with your arms
Move your feet and turn the opponent's centre. Use the lock to connect the motion, then let the trip or angle remove the base.
You cross your feet
Use short steps and keep your base available. Crossing makes the direction change slower and exposes a trip.
You lift before you control the hips
Drop your level and tighten the hip connection first. Choose a trip when the opponent's base or cage position blocks a safe lift.
You release during the landing
Keep control through the mat return, then settle into top position. Follow your coach's rule for when the grip changes.
Drill the sequence with a partner
Connect and move
Start from a cooperative clinch. Build the front body lock, move the partner one step in each direction, and reset. Focus on head, hip, and foot position.
Find the light foot
Move the partner gently until one foot becomes easy to lift. Name the light foot and pause. Add the trip only after both partners agree on the direction.
Pummel on the cage
Work for one underhook and head position while the defender practises turning out. Keep fingers outside the fence and use low resistance.
Rear-lock stand-up
Begin from a safe kneeling position. Let the defender stand while the attacker follows the hips. Practise a controlled foot block and seated return under your coach's supervision.
Add the decision
Give the attacker a choice between an inside trip, turn, or transition to the double leg. The defender pummels or widens the base. Stop after the first clean finish or escape, then reset.
Get quick answers
What is a body lock takedown?
You connect your arms around the opponent's torso or hips, control their centre, and finish with a trip, turn, lift, or mat return.
Where should you lock your hands?
Use the hand connection and height your coach teaches for the exact position. Keep your elbows close and your grip low enough to control the hips.
Does a body lock work against the cage?
Yes. The cage limits retreat and can help you build pressure, pummel underhooks, turn the opponent, and expose a trip. Keep your fingers outside the fence.
How do you defend a rear body lock?
Lower your hips, protect the grip, fight the hands, step away from the trip, and turn one shoulder toward the attacker. Practise the escape slowly before live rounds.