Technique
MMA Sprawl Technique: Choose the Right Recovery After the Shot
Finish your MMA sprawl with a recovery decision tree for disengage, circle, front-head control, and continued wrestling.
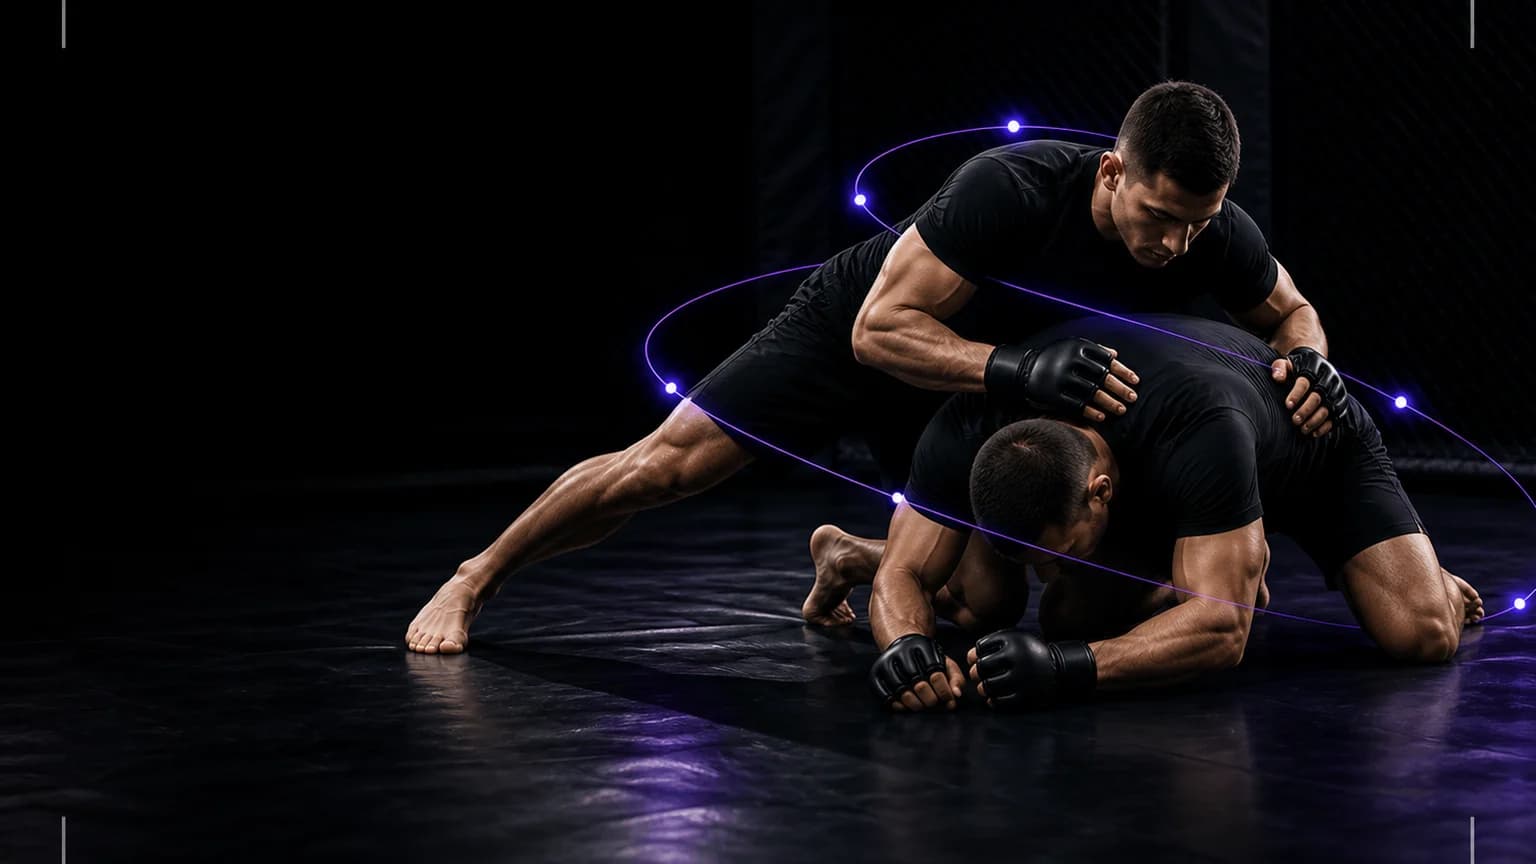
2026 update: the sprawl only works when recovery matches the position
Map your sprawl through stance, read, clear, connect, angle, and recover, then make the decision that comes after your hips connect. A sprawl is not complete when the legs leave the attack. You still need to protect the head and neck, avoid uncontrolled pressure, and choose a recovery that fits the attacker’s position and your coach’s plan.
| Visible position after the sprawl | Possible coached recovery | Review question | Do not assume |
|---|---|---|---|
| Attacker loses the legs and posture rises | Disengage and return to stance | Can I clear safely without crossing feet? | That the shot is finished |
| Attacker turns or posts | Circle to a safer angle | Which direction keeps my legs away? | That a front headlock is available |
| Head and shoulders remain controlled | Use a supervised front-head position | Do my hands and hips maintain safe control? | That a submission is appropriate |
| Attacker continues through | Continue a coached wrestling exchange | Can I keep base and defend the next action? | That a single sprawl ends the sequence |
Choose the recovery from the visible position, not from the technique name. A clip that hides the hands, head, or feet cannot establish whether the position is safe. Start with prearranged entries and ask your coach to add one variable at a time.
Review one sprawl at normal speed and then frame by frame. Mark the earliest break, such as a late leg clear, hips too high, pressure on the neck, or a recovery that leaves the stance unavailable.
Source-backed checks
- Association of Boxing Commissions, Unified Rules of MMA
- UFC, Introduction to MMA
- USA Wrestling, coaching resources
Related guides
MMA conditioning plan · beginner MMA drills · MMA stance
An MMA sprawl answers a level change or leg attack by moving your legs away, directing weight through your hips, controlling the attacker's upper body, and recovering to a useful position. A successful sprawl is not a belly flop. You must read the entry, clear your legs, keep a stable upper-body connection, and decide whether to disengage, circle, front-headlock, or continue wrestling.
Practise with a qualified MMA or wrestling coach and a cooperative partner. Begin from slow, prearranged entries. Do not drive weight onto your partner's neck, spike the head, strike during a learning drill, or use a submission without separate instruction.
Review the six phases
| Phase | Your task | Visible checkpoint |
|---|---|---|
| Stance | Stay ready to strike and defend | Feet support a fast level response without crossing |
| Read | Recognize the opponent's level and penetration | Hands and eyes stay available |
| Clear | Move both legs away from the attack | Knees and feet leave the capture line |
| Connect | Place controlled hip pressure while framing | You do not collapse onto the head or neck |
| Angle | Turn the attacker away from your legs | Your chest and hands guide the position |
| Recover | Circle, disengage, or establish the next control | You finish able to act, not flat on the mat |
What is a sprawl in MMA?
A sprawl is your defense against a shot at your legs. You push your hips back, send your legs behind you and land your weight over the attacker's shoulders, so their hands never close around your knees. The sprawl works when your hips arrive before their hands do.
Sprawl step by step
Start every rep with a coach and a cooperative partner at slow speed.
- Hold your stance. Keep your feet about shoulder width apart, your hands up and your weight on the balls of your feet.
- Read the level change. Watch the attacker's head and shoulders. A shot starts when they drop their level, so you move on the drop, before the hands reach you.
- Drive your hips back first. Push your hips straight back, away from the attacker's head, before you let them sink.
- Kick your legs back. Send both feet behind you and wide enough that the attacker's hands meet air. Land on the balls of your feet or your toes.
- Drop your hips onto their shoulders. This is the hip drop. Press your hips down through the attacker's shoulders and upper back, keep your chest high and frame their head with your hands or fight for an underhook.
- Recover. Circle away from the attacker's legs, rise back to your stance or move into the next control your coach assigned.
Fix the five sprawl mistakes
| Mistake | What goes wrong | Fix |
|---|---|---|
| You drop your hips straight down | The attacker slides their hands behind your knees | Drive your hips back before you drop them |
| You wait for their hands to touch you | You arrive late | React to the head and shoulder drop |
| You land with your legs under you | The attacker cuts to a single leg | Kick your feet wider and farther back |
| You drop your weight on their neck | You put their neck at risk | Stop the rep, lift your chest and press through the shoulders and upper back |
| You stay flat after the sprawl | The attacker chains the next shot | Circle or rise within one second |
Drill your sprawl with three exercises
These rep counts are starting points. Confirm them with your coach and drop them if you feel pain, dizziness or a pinch in your lower back.
- Shadow sprawls. Do 3 sets of 8 reps with 60 seconds of rest. Move your hips back first on every rep and stand up to your stance between reps.
- Slow partner sprawls. Your partner steps in at 25% speed and touches your hips with both hands. Do 3 sets of 6 reps per side. Your hips must land on their shoulders before their hands reach your knees.
- Signal sprawls. Your partner drops their level with no warning. Do 4 rounds of 3 reps and rest 60 seconds between rounds. Add speed only after you land all 12 reps with your hips back first.
Move to prearranged double-leg and body-lock entries once your hips land on time. Read the double-leg takedown guide and the body-lock takedown guide to see what you defend against.
Test your sprawl against shot speed
Your sprawl needs time, and your reaction takes some of it. Woods and colleagues measured simple visual reaction time in 1,469 adults aged 18 to 65 and found a mean of 231 ms. That number covers one known signal and one known response. A real shot asks you to read the signal and choose a response, which takes longer.
Run this check on your own footage. Record a partner's slow entry from the side at 30 frames per second. One frame lasts 33 ms.
| Example clip | Frames from first head drop to hands on your knees | Time | Time left after a 231 ms reaction |
|---|---|---|---|
| Slow entry | 12 | 400 ms | 169 ms |
| Medium entry | 9 | 300 ms | 69 ms |
| Fast entry | 6 | 200 ms | None |
These frame counts are example numbers, so replace them with your own clips. They show you the lesson: at a fast entry you cannot wait for the head drop and then react. You win the exchange earlier, with your distance, your stance and the cues you read before the level change, such as a lowered lead hand or a stance switch. Keep your distance long enough that the drop gives you at least the 231 ms.
Start from an MMA stance
MMA combines striking and grappling, so your stance cannot copy a low wrestling stance in every moment. Keep your feet close enough to defend a shot without giving up striking movement, and keep your hands ready to frame or underhook without dropping your guard early.
The Unified Rules of MMA define the competition environment and prohibit actions such as spiking an opponent onto the head or neck and grabbing the fence. Your gym drill must also follow its own stricter safety limits.
Move your legs before you add pressure
When your partner attacks the legs, send your feet and knees backward so the hips meet the attack in front of the legs. If you leave one knee under you too early, the attacker may connect their hands or continue through the corner.
Do not jump upward before moving back. Keep your hands available to frame on the shoulders, establish head position, or fight for an underhook as your coach directs.
Use controlled hip connection
Direct your weight through a stable hip connection while your upper body controls posture and direction. Avoid dropping without control. Your partner should be able to keep the neck in a safe alignment and communicate throughout the drill.
The exact contact changes with the entry. A double-leg, single-leg, body lock, and cage shot require different hand fighting and angles. Name the attack before you evaluate the defense.
Turn the corner away from your legs
After you stop forward movement, do not remain square and flat. Use your frame, crossface only as legally and safely coached, underhook, or front-head position to make space and turn. Move your legs farther from the attacker as you circle.
If you intend to disengage, recover your stance before you create striking distance. If you intend to wrestle, establish the control before you advance. Do not rush a choke from a loose position.
Recover with the next threat in mind
An MMA exchange does not stop because the first takedown failed. The attacker may chain to another leg, rise into a body lock, strike, or drive toward the fence. Finish the drill in a defined position and let the next action determine your posture.
Film from two angles
Use a side-oblique angle to see the level change, leg clearance, hip connection, and recovery. Use a rear-oblique angle to see whether one leg remains available and whether you circle toward or away from the attack.
Keep both athletes fully in frame. Do not place a camera against the cage where it can obstruct movement or create a hazard.
Correct the first error
| What you see | What to test |
|---|---|
| Attacker reaches both legs | Move the feet earlier and farther before adding pressure |
| You fall to both knees | Rehearse leg clearance from a slower entry |
| Your hands reach for the floor | Keep a coach-approved frame on the attacker |
| Your weight lands on the neck | Stop and rebuild the contact point under supervision |
| You stay flat after stopping the shot | Add a deliberate angle and recovery |
| The attacker chains to one leg | Review which leg remained near the hands |
Progress without turning the drill into a fight
- Shadow the sprawl and stance recovery.
- Add a partner's slow level change without leg contact.
- Defend a prearranged double-leg entry.
- Add one controlled re-attack.
- Practise near the fence with a coach.
- Add supervised live resistance only after both partners understand the limits.
Review double-leg technique, MMA stance, and takedown entries so you understand the attack you are defending.
MMA carries serious injury risk. Stop for pain, dizziness, confusion, loss of control, or any suspected head or neck injury. Seek qualified medical care when symptoms appear.
Get quick answers
What does sprawl mean in MMA?
A sprawl is a takedown defense. You push your hips back, kick your legs behind you and press your weight onto the attacker's shoulders when they shoot for your legs.
How do you sprawl?
Hold your stance, read the level change, drive your hips back, kick your feet back and wide, then drop your hips onto the attacker's shoulders. Circle away or rise to your stance when the shot stops.
Where should your hips go in a sprawl?
Back first, then down. If your hips drop straight down, the attacker's hands reach behind your knees.
Does a sprawl work against a body lock?
A sprawl answers a shot at your legs. A body lock grabs your hips and torso, so you defend it with hand fighting, a wide base and pummeling. Read the body-lock takedown guide for the entry and its defenses.
How often should you drill sprawls?
Start with two short sessions a week next to your normal class and add speed only when your hips land on time. Your coach sets the volume.
How fast can you react to a shot?
Mean simple visual reaction time measured 231 ms in a study of 1,469 adults. A shot asks for a decision as well, so you win by reading earlier cues and keeping your distance.